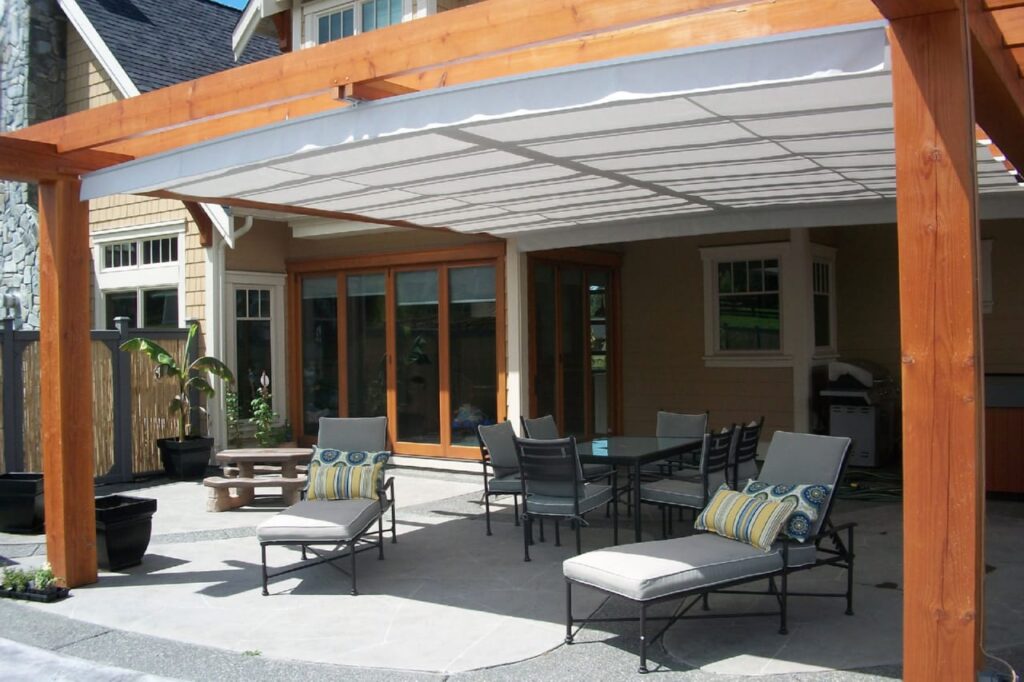
The patio is a favorite summer vacation spot for many families, but in order to make the most of your outdoor space, consider building an awning over a patio. Not only will it provide you with much-needed shade on sweltering summer days, it will also allow you to enjoy being outside, even when there is a brief downpour.
Patio covering options
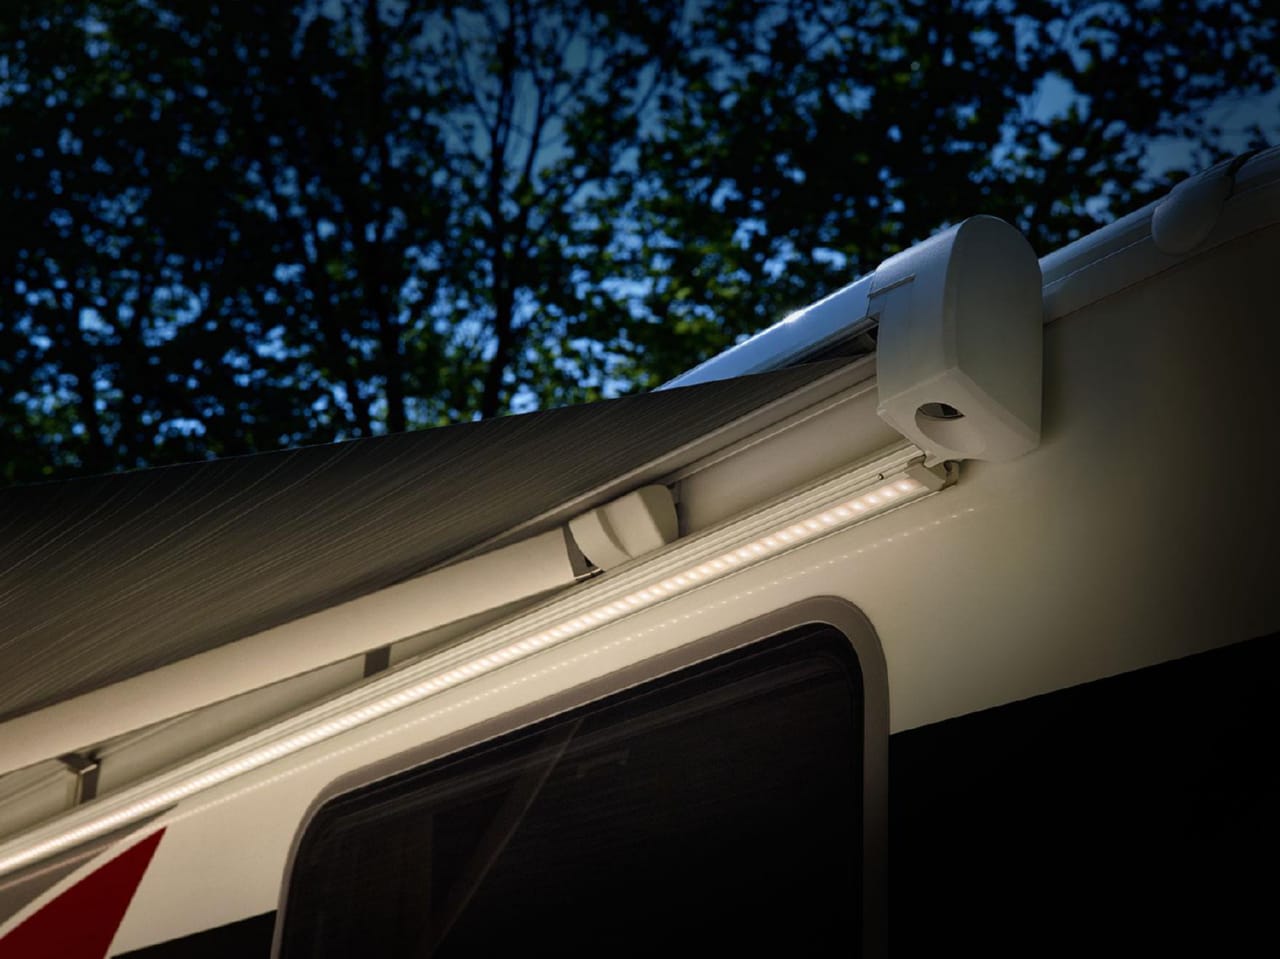
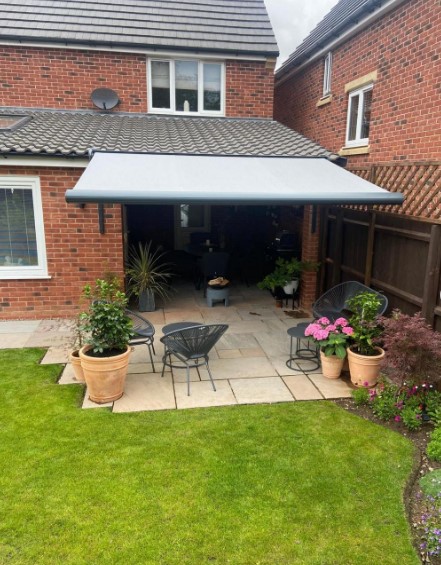
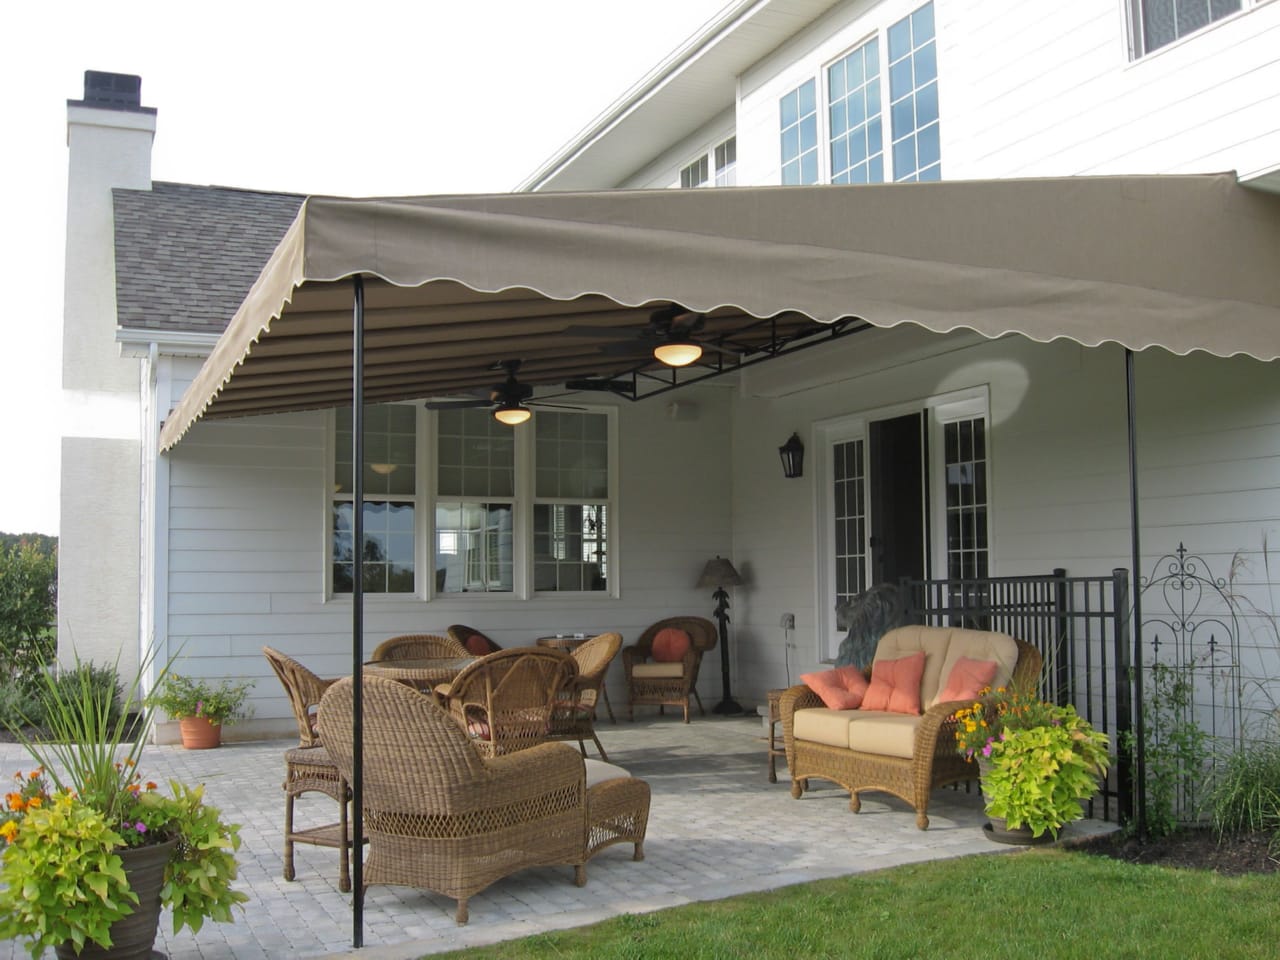
There are many different materials that are suitable for patio coverings. If you live in an area where there is very little rain, a simple wooden frame with a large fabric drapery will do, or you may prefer a natural cover of vines growing over a frame constructed of posts and trellis. There are also many patio cover kits available in wood, aluminum or PVC.
Patio cover design
Depending on the size of your patio, you may want only part of your patio to be covered, or you may want the entire foundation to be protected from the weather. The size of your patio cover is completely up to you, but no matter what design you choose, your patio roof should be no taller than one story and ideally no longer than 12 feet.
Creating a patio cover
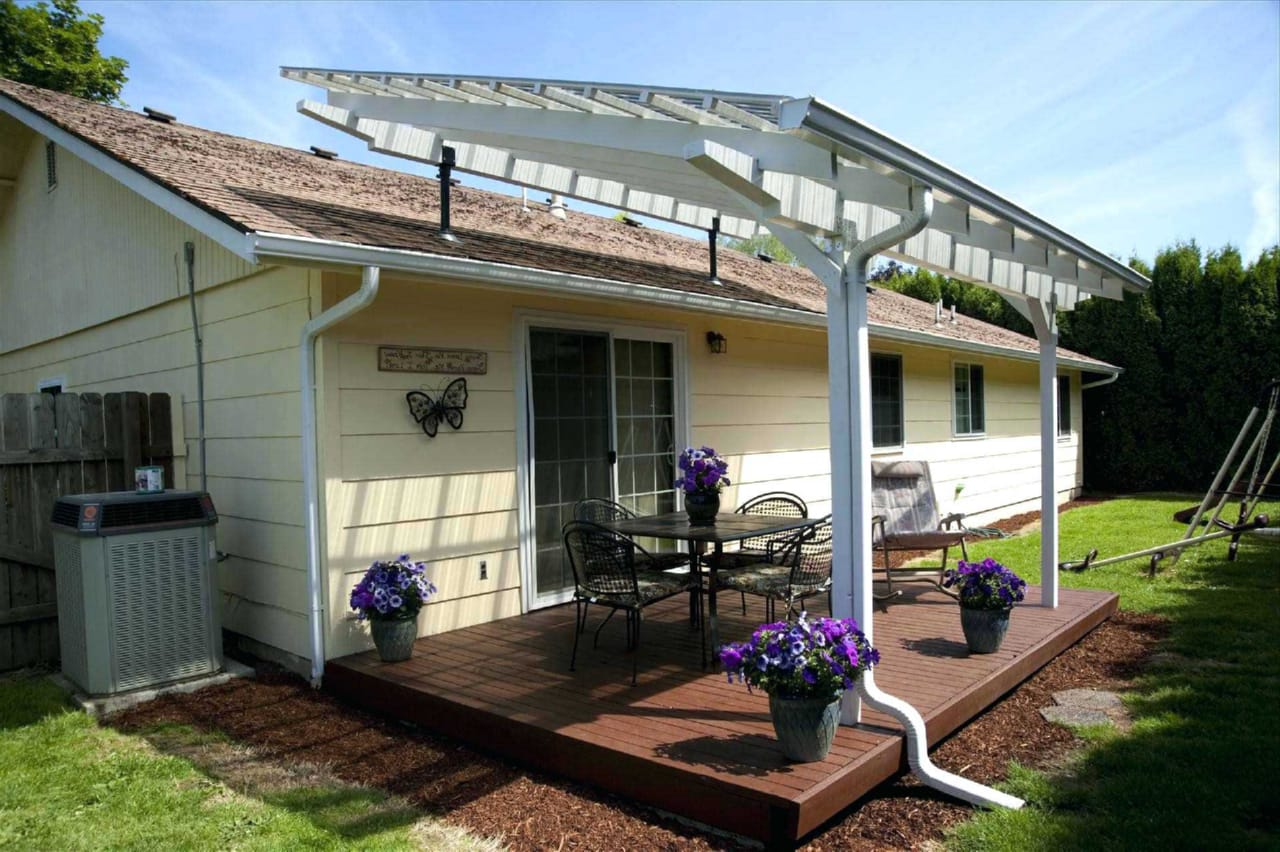
These instructions are about how to build a patio cover consisting of a wood frame with a corrugated plastic roof. The instructions are for a freestanding patio, not one that is attached to a house wall.
Tools and materials
- Coated screws, 2″ long
- Treated 2×4 boards (quantity and length depends on the size of your patio)
- Treated 4×4 posts, 8 feet long
- Precast concrete
- Wooden bolts
- Rubber washers
- Circular saw
- Ladder
- Measuring tape
- Hammer
- Spade
- Drill
- Carpenter’s level
- Corrugated plastic sheeting (enough length and width to cover the patio)
Installing the support posts
Dig a hole in all four corners of your patio. Each hole should be 18 inches deep. Insert one of the 4×4 posts into one of the holes and fill the hole with mixed concrete. Use a carpenter’s level to make sure the post stands upright (level on all sides). You can use wooden spacers to keep the post plumb while you keep working, or you can have friends hold the post steady until the concrete sets. Install the rest of the posts in the same way.
Framing and installing the patio cover
Measure the perimeter of the patio, using the posts as a guide. Cut 2×4 boards the same length as each side of the perimeter. Assemble the frame on the ground and drill two-inch screws in each joint to fasten the pieces together.
Lay 2×4 boards at equal intervals along the top of the frame and fasten them in place with two-inch screws.
Lift up (with plenty of help) the 2×4 patio cover frame and place it on top of the 4×4 posts. Attach the frame to the posts using two two-inch screws in each location.
Installing the corrugated plastic
Place the corrugated plastic sheet on top of the 2×4 frame and drill guide holes in the plastic where it meets the 2×4 below it. Attach the corrugated plastic to the frame with wooden bolts and rubber washers. The guide holes are necessary because the plastic can crack if you try to run the bolts right through it, and the rubber washers will help prevent rain from seeping through the holes made for the bolts.
Finishing the job
Cover the exposed concrete used for the support posts with a layer of dirt and move your furniture back into your new patio. Now you can relax and enjoy a nice cold drink or delicious outdoor patio barbecue anytime, in any weather.
Helpful tips
- Always wear safety glasses when using power tools, especially when cutting wood.
- Wait until the concrete support is completely dry before attaching the frame roof, otherwise the weight of the roof may cause one or more of the support posts to shift.
- Measure twice so you can double check your work before you cut.
- Don’t start this job if the weather forecast promises rain. Wait a few good days before starting this job so that the concrete can set properly.