Installing LED strip lights on an RV awning roller is a great way to add some extra style and functionality to your vehicle. It can also be a great way to reduce your energy usage, as LED lights use a fraction of the energy compared to traditional lighting. To make sure that your LED strip lights are properly installed and functioning correctly, there are a few steps you should follow.
How to install LED strip lights on RV awning roller
Installing LED strip lights on your RV awning roller is a great way to add a special touch to your outdoor experience. Not only do they create a beautiful nighttime ambience, but they can also provide a safer environment for you and your family. With the right tools and a bit of patience, you can easily install LED strip lights on your RV awning roller. Here’s what you need to know to get started.
First, you’ll need to buy the appropriate LED strip lights for your RV awning roller. There are several different types of LED strip lights available, so make sure to pick the ones that are best for your specific RV awning roller. Once you have the LED strip lights, you’ll need to measure the area where you’d like to install them. This will ensure that the LED strip lights fit properly and look professional.
Next, you’ll need to prepare the area where you’ll be installing the LED strip lights. Make sure to clean the area thoroughly and remove any dirt or debris. You’ll also need to drill the appropriate number of holes for the LED strip lights. Be sure to use the correct drill bit size for the LED strip lights so that they fit snugly into place.
Once you’ve drilled the holes, you’ll need to install the LED strip lights. Start by attaching them to the awning roller with the provided clips. Then, carefully thread the wires through the holes you’ve drilled and connect them to the power source. Make sure to follow all instructions carefully to ensure that you’ve properly installed the LED strip lights.
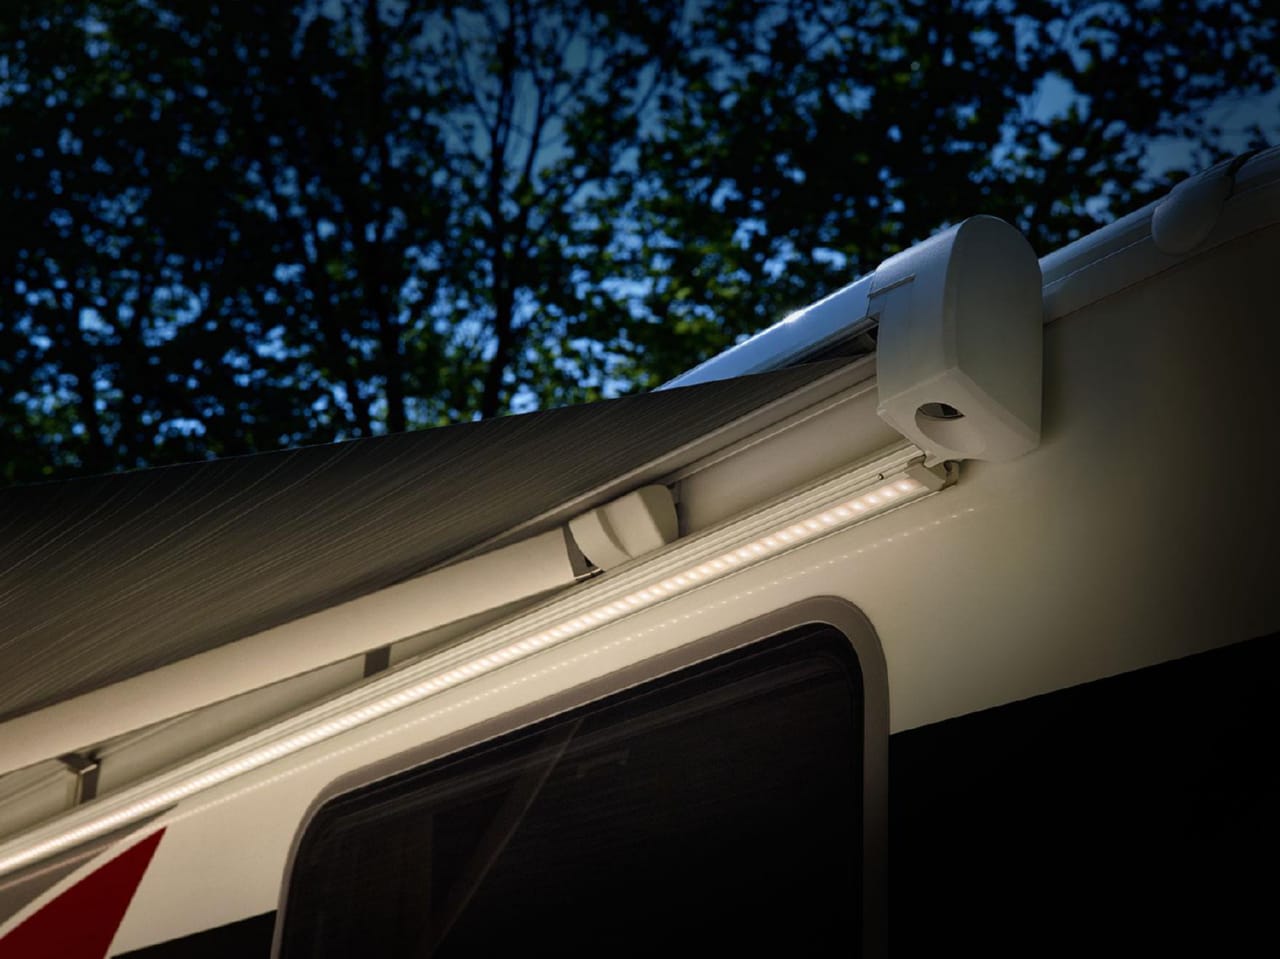
Finally, you’ll need to test the LED strip lights to make sure they’re working properly. Turn the power source on and turn the LED strip lights on to ensure they’re functioning correctly. Once you’ve checked that everything is working correctly, you can enjoy the ambience of your LED strip lights on your RV awning roller!
With the right tools and a bit of patience, you can easily install LED strip lights on your RV awning roller and enjoy a safer, more beautiful outdoor experience.
Tools and materials needed
Here are two tools and materials you’ll need to successfully install LED strip lights on your RV awning roller.
First, you’ll need an LED Strip light kit. This kit should include the LED strip lights, adhesive, power supply, and all necessary wiring components. If you don’t already have a kit, you can find them online or at your local hardware store.
Second, you’ll need a drill and drill bit. You’ll need to use the drill and drill bit to create a hole in the awning roller and feed the wiring through. You’ll also need the drill and drill bit to attach the power supply to the awning roller.
Installing the LED strip lights
Installing LED strip lights on your RV awning roller can provide a beautiful, low-maintenance lighting solution for your outdoor living space. Here are three essential steps to ensure a successful and safe installation of your LED strip lights.
First, make sure to purchase the right LED strip lights for your awning roller. Measure your awning roller and find a strip light that fits its width. Consider also the type of lighting you want, whether it’s warm white, cool white, or RGB lighting. Make sure your chosen strip lights are compatible with your RV’s 12-volt power system.
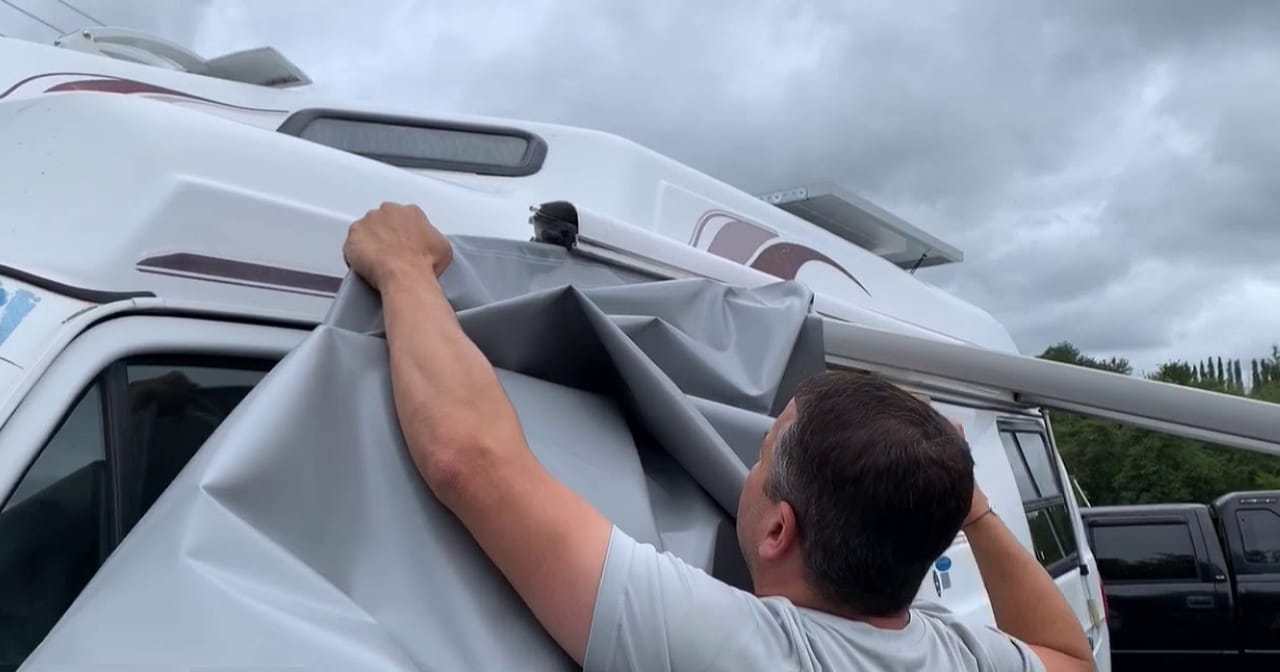
Second, you’ll need to prepare your awning roller for the installation. Carefully clean the surface of the roller, then attach the adhesive backing of the LED strip lights. Secure the strip lights firmly to the awning roller, making sure the adhesive is properly bonded to the surface.
Finally, connect the LED strip lights to your RV’s 12-volt power system. Use standard wiring techniques to ensure a safe and secure connection. When connecting the LED strip lights, be sure to leave enough slack in the wiring so that the awning can be rolled up and down without damaging the lights.
Installing LED strip lights on your RV awning roller can be a straightforward and relatively simple process if you follow the steps outlined above. With the right strip lights, preparation, and wiring, you can enjoy the beauty of your outdoor space with the added benefit of low-maintenance lighting.
Tips for success
Here are four tips to help ensure a successful installation of LED strip lights on your RV awning roller:
- Choose the Right Lights: LED strip lights are available in a variety of colors, sizes, and shapes. Be sure to choose the right type for your RV and space. If you’re looking for a more subtle look, go for a warm white light or a cool white light. For a more dramatic effect, you can choose from a variety of different colored lights.
- Choose the Right Tape: To secure the LED strip lights to the RV awning roller, you’ll need a strong and durable adhesive tape. Look for a tape that is specifically designed for outdoor use and can withstand extreme temperatures and weather conditions.
- Take Measurements: Before you begin the installation, take detailed measurements of the awning roller and the LED strip lights. This will ensure that you have enough lights to awning the entire roller and that they are installed correctly.
- Install Carefully: When it comes time to actually install the LED strip lights, take your time and be careful. Make sure to secure the lights firmly to the awning roller to avoid any accidents or damage.
By following these four tips, you can easily install LED strip lights on your RV awning roller and create a beautiful outdoor space for you and your family. With a little bit of planning and patience, you can ensure a successful installation and create a stunning outdoor space that you can enjoy for years to come.