I don’t know about you, but I really love mastering new techniques in needlework that I’ve never even heard of before. Of course, DIY projects don’t always turn out perfectly the first time, but in the case of the new curtains, that’s exactly how it worked out.
I recently decided to change the curtains in our small studio bathroom. This experiment was a great opportunity to try the technique of making curtains without sewing using fabric tape. Experienced seamstresses call it “cobweb tape.” It is a thin tape, soaked on both sides with glue. It is attached to the material with an iron. There are probably many projects in which you can use such a simple method.
The materials you will need in your work
In this project I will not specify the exact dimensions of the materials, because they depend on the size of your window. You should prepare:
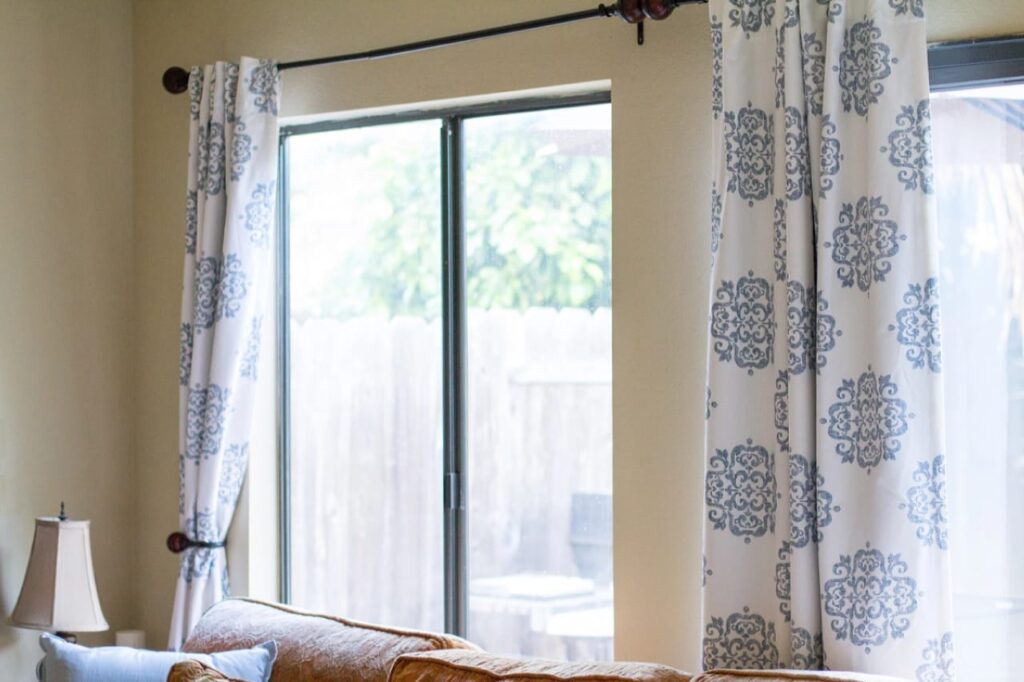
- cotton fabric (I chose a light, thin fabric with a pattern, which transmits light well and at the same time provides privacy);
- duct tape;
- A tape measure or cloth measuring tape;
- fabric scissors;
- iron;
- curtain rod and rings;
- A thin cotton kitchen towel or gauze.
Let’s get to work
First of all, you need to measure the window that you plan to decorate with curtains. As a rule, when calculating their size, we take such a quantity of fabric that it is 1.5 times wider than the window. This will allow you to make small gatherings on the finished product. If you choose a transparent fabric for the bathroom, add a few extra centimeters to the width to make the fringes thicker.
I made the curtains consisting of two fabrics. After measuring the length and width, I added an extra 5 cm to the height (2.5 cm for the top and 2.5 cm for the bottom) and an extra 10 cm to the width (2.5 cm is also added to each of the two fabrics on each side.
Once you have decided on the dimensions, you can start cutting the fabric. If you also need two pieces, cut the fabric in the middle.
Making hems
Once you have cut the fabric, lay one of the fabrics face down on your work surface. Along the sides of each piece make a 2.5 cm hem on the wrong side, pin the fabric and press with an iron. After that the pins can be removed.
Fix the bias tape
Cut the adhesive tape to the length of your curtain. Fold back the folded fabric and place the duct tape on the wrong side of the fabric. That way, it will be between the two layers of the main fabric. Place a damp thin cotton towel or two layers of gauze over the fold. Heat the iron and gently iron the fold, holding on each area for 10 seconds.
As a rule of thumb, the instructions for thermal fabrics recommend setting the iron’s thermostat to wool. However, it’s best to double-check the manufacturer’s recommendations for your ribbon beforehand. Continue to gradually iron out the fold. Dampen the towel/gauze periodically as needed until one side is completely outstitched.
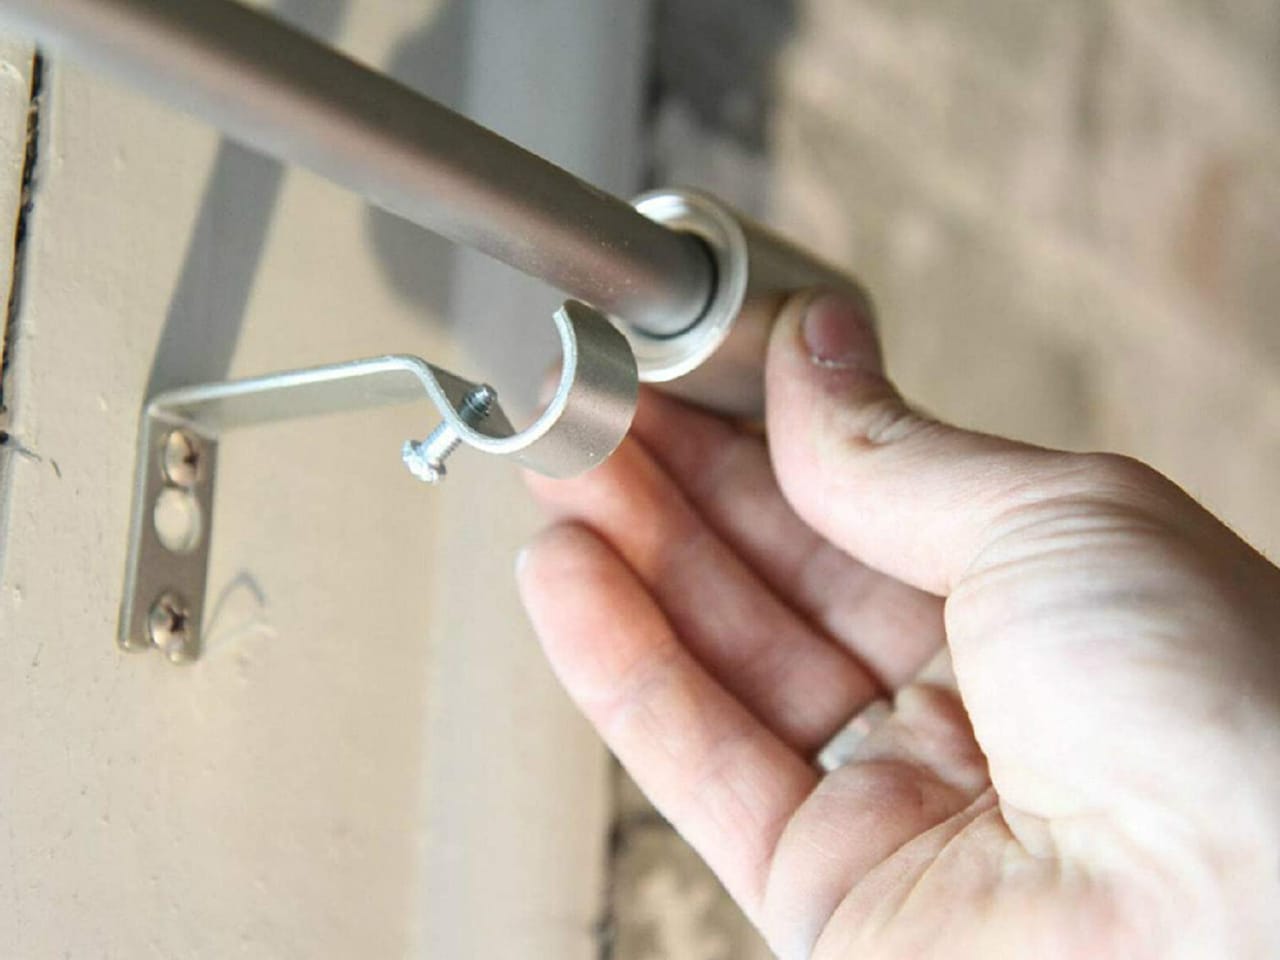
Turn the fabric over and repeat the process on the other side of the fabric. Do the same with the remaining sides of the second fabric. Once the long sides are complete, pin, staple and iron the narrow sides of both pieces at 2.5 cm. Remove the pins and glue the ribbon as you did earlier. At this point the hemming process is complete and your curtains are ready. It remains to install the curtain rod and fix the upper part of the curtain on the clamp rings.
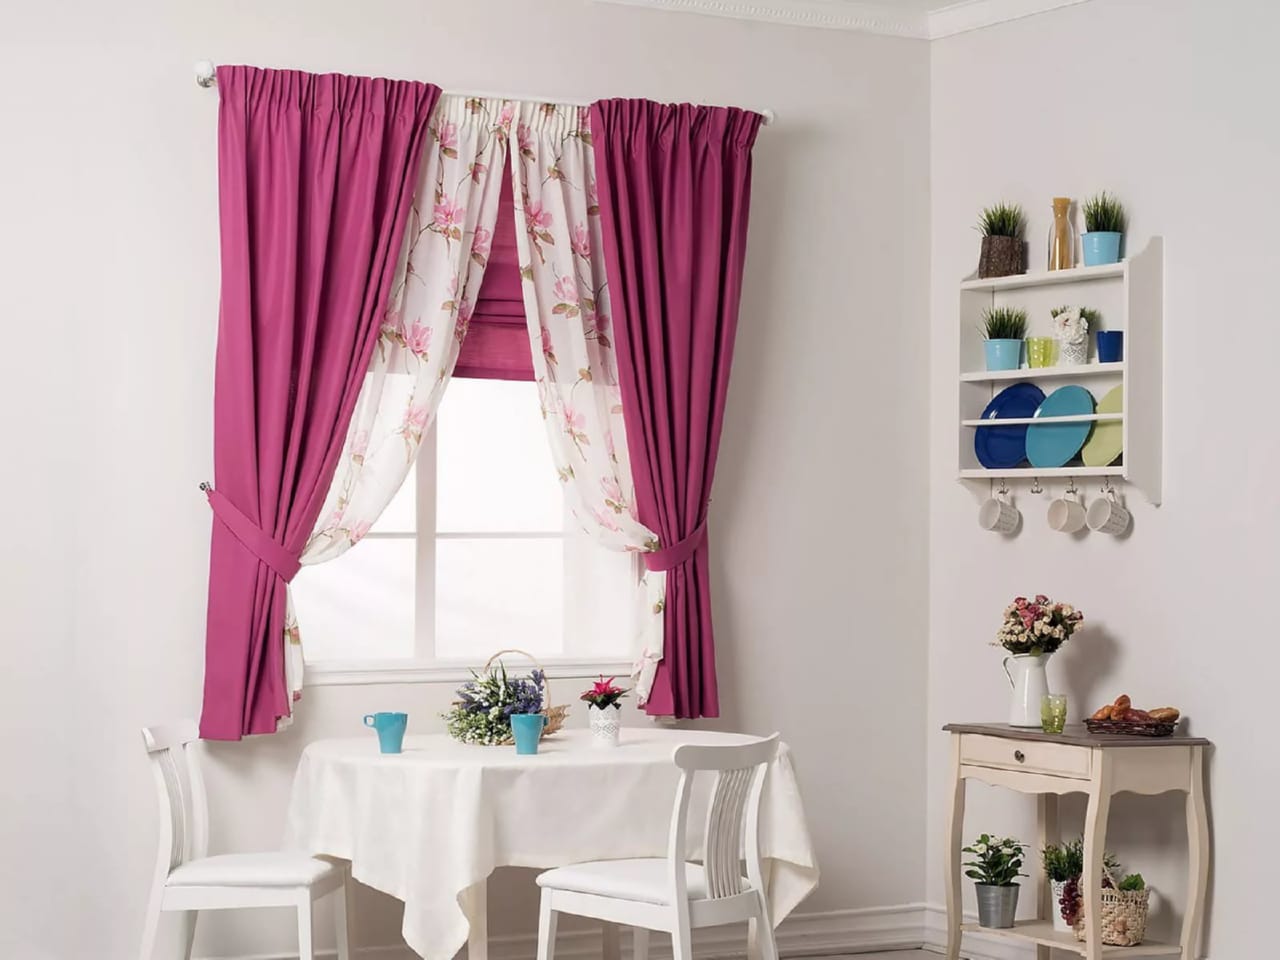
You can be congratulated. You have made modern and very nice curtains without sewing. I hope that this method is to your liking. With its help you can economically change the interior of the room. I will definitely take it to use it in other projects as well. It really is simple and practical.